Breville toaster ovens are a fantastic addition to your kitchen, offering convenience and versatility. To keep your appliance functioning at its best and looking pristine, you need to clean it regularly and correctly. In this guide, you will find step-by-step instructions that ensure your Breville toaster oven remains spotless, safe, and ready for all your cooking needs. Follow along to maintain your kitchen necessary with ease and confidence. 1. Unplug the toaster oven and let it cool completely. 2. Remove crumb tray and baking racks for separate cleaning. 3. Wipe interior with a damp cloth and mild detergent. 4. Scrub crumb tray and racks using warm, soapy water. 5. Clean exterior with a soft cloth and mild cleaner. 6. Dry all parts thoroughly before reassembling and using.

Essential Supplies for a Thorough Clean
Must-Have Cleaning Tools
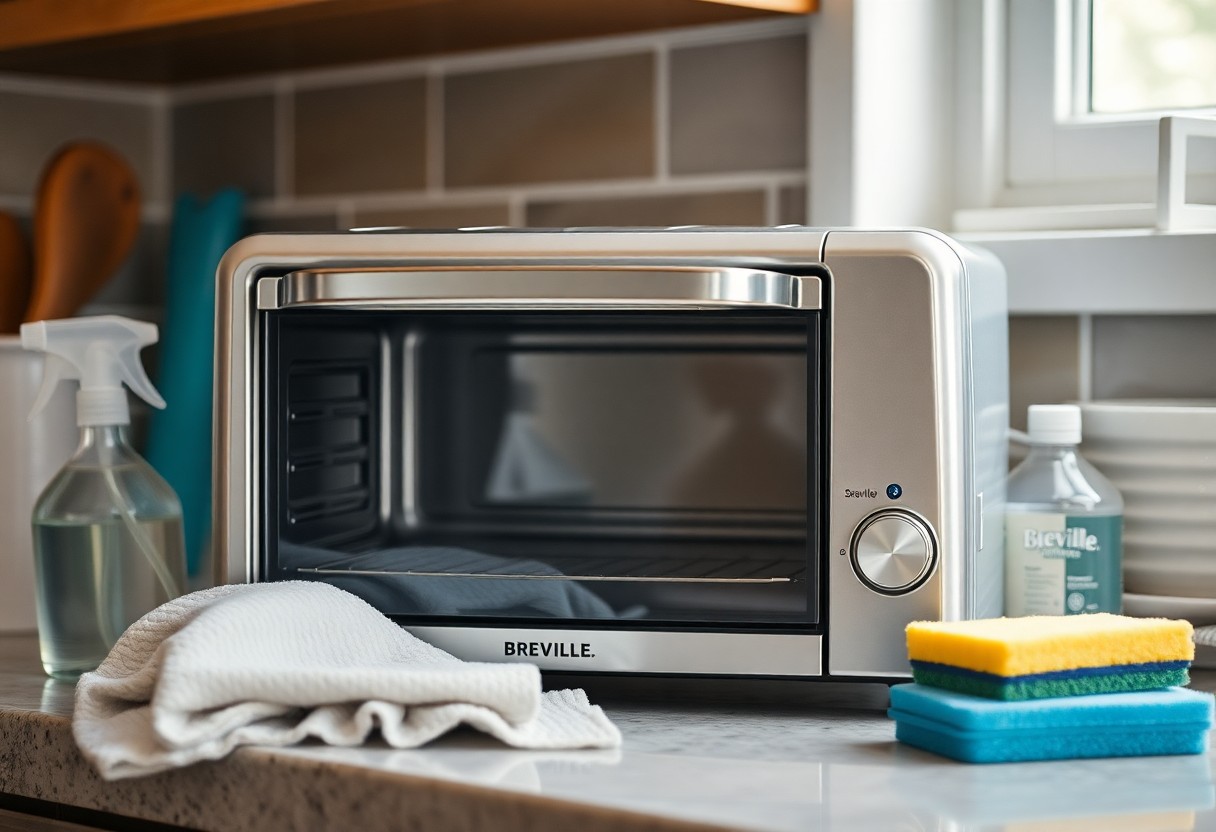
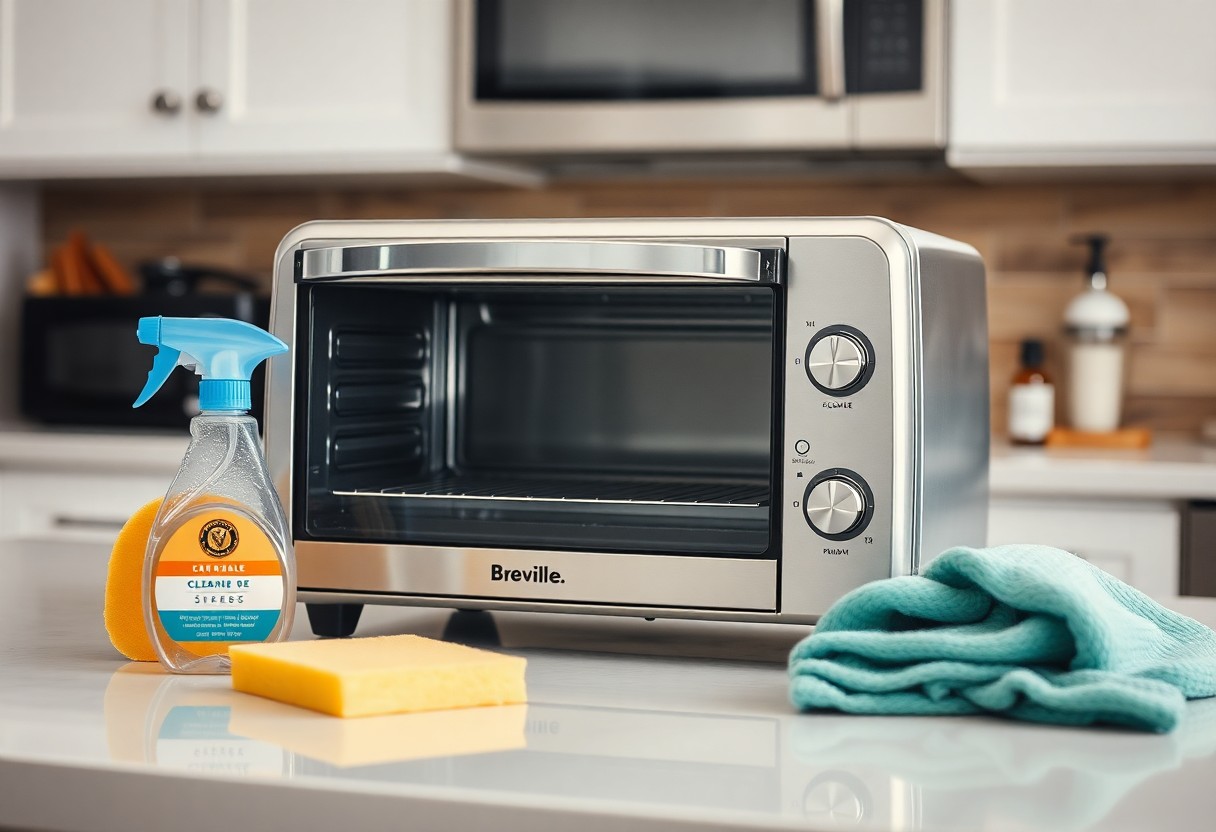
Your Breville toaster oven requires a few specific tools to ensure every nook and cranny receives the attention it deserves. A soft-bristled brush is perfect for reaching into corners without scratching the delicate interior surfaces. Pair this with a microfiber cloth that traps dust and grease effectively, helping to avoid streaks or residue left behind after wiping. For tougher grime or baked-on food, a plastic scraper or spatula aids in loosening debris without damaging the appliance’s non-stick coatings or heating elements.
Don’t overlook a sturdy pair of rubber gloves to protect your hands from heat and cleaning agents, especially during deeper cleans where you might need to remove greasy trays or racks. In addition, a small bowl or container helps mix cleaning solutions, while an old toothbrush can be invaluable for cleaning detail areas like around the dials, buttons, and hinges. By gathering these must-have tools beforehand, you’ll make the cleaning process much more efficient and effective.
Recommended Cleaning Solutions
Mild dish soap mixed with warm water is one of the simplest and safest solutions to dissolve grease without harming your toaster oven’s finish. For stubborn stains or baked-on food, a paste made from baking soda and water serves as a gentle yet powerful abrasive. White vinegar solutions also work wonderfully, cutting through grime while deodorizing the unit naturally. Avoid harsh chemicals like bleach or abrasive powders that can erode surfaces or leave toxic residues.
Commercial degreasers specifically formulated for kitchen appliances can be used sparingly if your Breville toaster oven faces extreme build-up. Look for non-toxic, food-safe labels that ensure safe use near your cooking areas. Utilizing these carefully selected cleaning solutions will help maintain your appliance’s performance and longevity while making the cleanup manageable and thorough.
Choosing the right cleaning solution hinges on balancing effectiveness with appliance safety. Household staples like baking soda and white vinegar have been proven to break down tough grease without the environmental or health risks posed by harsher chemicals. Their affordability and accessibility also mean you can refresh your Breville toaster oven regularly without extra cost or hassle. When you decide to upgrade to commercial cleaners, verifying that they are compatible with the materials of your oven ensures no unintended damage or staining occurs during your routine maintenance sessions.
Step-By-Step Cleaning Process
Preparing the Toaster Oven for Cleaning
Before you begin scrubbing and wiping, unplug the Breville toaster oven and allow it to cool completely—this can take up to 30 minutes depending on recent usage. Next, remove all detachable components including racks, crumb trays, and baking pans. These parts often harbor dissolved grease and food particles that contribute to unpleasant odors and uneven cooking performance over time. Soaking them in warm, soapy water for about 15 minutes softens baked-on residue, making subsequent cleaning more effective.
While the components soak, gently shake or tap out any loose crumbs from the main chamber of the toaster oven. Avoid using metal utensils here as they can damage heating elements or the interior walls. Instead, use a soft-bristled brush or a dry microfiber cloth to sweep away debris. This preparatory work sets the stage for a thorough cleaning, preventing buildup that could compromise both hygiene and heating efficiency.
| Task | Details |
| Unplug and cool | Allow the oven to cool fully, typically 30 minutes. |
| Remove components | Take out racks, crumb trays, and pans for individual cleaning. |
| Soak in warm water | Use warm, soapy water for at least 15 minutes to loosen residue. |
| Clear interior crumbs | Use a soft brush or cloth; avoid metal tools. |
Cleaning Interior Surfaces: Tips and Techniques
Mix a solution of equal parts water and white vinegar to tackle greasy splatters and baked-on food inside your toaster oven. Apply this using a spray bottle or a soft cloth dampened with the mixture and gently wipe down the walls, ceiling, and floor of the oven chamber. For stubborn spots, a paste made of baking soda and water can be applied and left for 10–15 minutes before wiping off—this mildly abrasive mixture lifts grime without scratching surfaces.
Do not spray liquids directly onto heating elements or electrical components; instead, dampen your cloth lightly and avoid saturating any areas that could short-circuit. Use a non-abrasive sponge or brush with nylon bristles to navigate corners and crevices where gunk may accumulate. This approach complements your attention to detail, enhancing your toaster oven’s performance and extending its service life.
- Use equal parts water and white vinegar for degreasing.
- Apply baking soda paste on tough stains for 10–15 minutes.
- Avoid excessive moisture near electrical parts.
- Use soft cloths or nylon brushes to prevent scratching surfaces.
- This technique preserves both cleanliness and appliance longevity.
The interior surfaces should be fully dry before reassembling your toaster oven. Wipe down with a dry microfiber cloth or leave the oven door open for a few minutes to air-dry. Moisture trapped inside could promote rust or electrical faults. This ideal combination of gentle chemical cleaning and careful handling maximizes your appliance’s hygiene without risking damage.
- Ensure all interior parts are dry before putting back components.
- Use microfiber cloths to avoid lint residue.
- Open door slightly to air dry after cleaning.
- This minimizes corrosion and electrical issues caused by moisture.
Tackling the Exterior: Keeping it Shine-Ready
Use a soft damp cloth with a mild detergent solution to clean the exterior surfaces of your Breville toaster oven. Stainless steel exteriors benefit from specific metal polish or a mixture of water and vinegar that helps remove fingerprints and smudges without streaking. Avoid abrasive cleaning pads or harsh chemicals as they can dull the finish or damage control knobs and buttons. Pay extra attention to seams and crevices where dust and food particles often collect.
Clean the control panel gently, avoiding excess moisture near buttons or dials to ensure longevity of the electronics. A lightly moistened microfiber cloth works well for this task. For stubborn grease spots, a small dab of dish soap on the cloth is effective yet safe. Regular surface maintenance can keep your appliance looking new and inviting even after multiple uses.
Exterior upkeep doesn’t just focus on appearance—it also helps maintain functionality by preventing dirt from infiltrating internal mechanisms and button surrounds. By combining soft cloth wiping with careful spot treatments, your Breville toaster oven will retain its professional-grade, polished look for a long time.

Preventative Maintenance for Longevity
Maintaining your Breville toaster oven’s performance hinges on consistent care beyond deep cleanings. Small, regular actions like removing crumbs after each use and wiping down interior surfaces prevent buildup that could impair heating elements or affect cooking quality. Regular checks for wear on accessories such as racks and trays help you replace them before they cause damage inside the oven, preserving its efficiency and safety over time.
Taking steps to anticipate and prevent residue accumulation also protects the appliance from odors and reduces the frequency of heavy-duty cleaning sessions. Your attention to detail in these preventative practices can extend the life of your toaster oven substantially, ensuring it continues functioning at its best for years.
Routine Cleaning Schedule
Establishing a weekly schedule where you clean the crumb tray, wipe down the interior walls, and check the racks for stuck-on food will minimize grease and residue buildup. After heavier uses, such as baking or toasting greasy foods, plan a thorough wipe-down to prevent stubborn stains. This routine avoids grime settling into hard-to-reach nooks and extends the intervals between intensive deep cleans.
Keeping a small cleaning kit nearby with your approved degreasers, microfiber cloths, and a gentle brush speeds up the process, encouraging you to stick to this maintenance habit. Less time spent scrubbing means you’ll be more consistent, and your appliance will stay spotless with minimal effort.
Tips for Avoiding Common Residue
Proactively managing how food particles and grease interact with your toaster oven surfaces keeps residue from becoming a recurring issue. Using parchment paper or a silicone baking mat on trays traps crumbs and drips before they can cook onto surfaces. Additionally, wiping away spills immediately after the oven cools prevents hardened, baked-on stains that require heavy scrubbing.
Opt for low-fat cooking techniques when possible, as excess grease not only creates residue but can also smoke or even ignite. Avoid overcrowding food inside the oven to improve airflow and reduce dripping. This approach maintains the oven’s cleanliness and contributes to evenly cooked meals.
- Place a removable crumb tray under your baking racks to catch falling particles.
- Apply a thin layer of oil on racks and trays to prevent sticking and residue buildup.
- Clean spills promptly to prevent hardened food buildup.
- Use liners like parchment or silicone mats to simplify cleanup.
- Assume that establishing these habits will prevent common residue issues and reduce the need for frequent deep cleans.
Keeping your toaster oven free of residue also involves understanding how cooking different types of foods impact its cleanliness. Greasy foods and sugary glazes tend to create sticky residues that set quickly, requiring immediate cleanup to avoid damage or odor. Acidic foods can etch certain surfaces if left unattended. Limiting splatter by covering items loosely with foil and choosing appropriate oven-safe containers further reduces messes.
- Limit cooking highly sugary or acidic foods that can damage interior surfaces.
- Cover foods appropriately to reduce splatter and airborne grease.
- Ensure trays and racks are positioned to catch drips effectively.
- Use oven-safe containers designed to minimize spillover.
- Assume that these strategic choices significantly cut down on sticky and stubborn residues.

Troubleshooting Stubborn Stains and Odors
Identifying Stubborn Build-Up
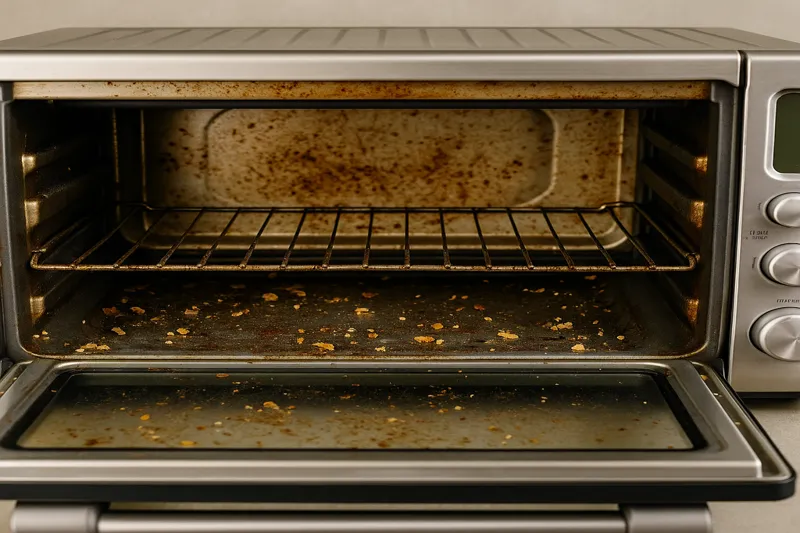
The first step in tackling tough stains is recognizing their nature. Grease often bakes onto the interior surfaces, especially the crumb tray and glass door, after repeated use. Such residues can appear as dark, sticky patches that resist simple wiping. Carbonized food particles stuck within the heating elements or tray edges develop a burnt smell, which lingers even after a regular clean. Identifying these layers early helps avoid deterioration that affects cooking performance over time.
Limescale or mineral deposits from water splashes can form white or chalky marks, especially if you often use the oven for steaming or bake pizza with toppings that drip water. These deposits usually require more specific cleaning agents like vinegar. Odors, meanwhile, are commonly caused by oil that has polymerized due to repeated high heat, creating a smoky, acrid smell that an ordinary sponge won’t remove. Detecting these signs indicates when you’ll need to step up the cleaning method.
Advanced Techniques for Deep Cleaning
For resilient stains and lingering odors, combining physical scrubbing with chemical treatments proves effective. Using a paste made of baking soda and water on affected surfaces can loosen grime without damaging finishes. Allow the paste to sit for 20 minutes before carefully scrubbing with a non-abrasive brush. For odors trapped inside, steaming the interior with equal parts water and white vinegar in a heatproof container while the oven runs on a low setting for 15 minutes helps neutralize smells.
Should these methods fall short, specialized oven cleaners designed for electrical appliances might be necessary. They break down thicker grease and carbon deposits but require ventilation and safety precautions due to their chemical strength. After applying such products, rinse thoroughly to prevent residue buildup that might affect food flavor. Regular use of these advanced techniques every few months will keep your Breville toaster oven spotless and odor-free, prolonging its life and functionality.
| Type of Build-Up | Recommended Technique |
|---|---|
| Baked-on grease | Baking soda paste with gentle scrubbing |
| Carbonized food residues | Steaming with water and vinegar solution |
| Limescale/mineral deposits | White vinegar soak or wipe |
| Persistent odors | Heat and vinegar steam or mild commercial oven cleaner |
Deep cleaning your Breville toaster oven doesn’t always mean harsh chemical use; natural solutions often provide powerful results with lower risk. The key is consistency and combining methods—soft scrub techniques remove surface blemishes while steaming addresses hidden grime and odors. For instance, performing a baking soda paste treatment followed by a vinegar steam session magnifies the cleaning effect by targeting different layers of buildup. This system works beautifully—with regular deep cleans every three to six months, your appliance will maintain a nearly new condition, enhancing cooking efficiency and delivering superior taste every time.
| Step | Action |
|---|---|
| 1 | Mix baking soda and water into a paste and apply to stained surfaces |
| 2 | Let paste sit 15-20 minutes to break down grease |
| 3 | Scrub with a soft-bristled brush or sponge to lift debris |
| 4 | Place a container of equal parts vinegar and water inside oven |
| 5 | Run oven at low heat (around 200°F) for 15 minutes to steam-clean and deodorize |
| 6 | Wipe down interior surfaces with a damp cloth to remove loosened residue |
| 7 | Optional: Apply a mild commercial oven cleaner for extremely stubborn grime following manufacturer instructions |
| 8 | Rinse and dry thoroughly before next use |
Safety First: Cleaning Do’s and Don’ts
Handling your Breville toaster oven with care during cleaning prevents damage and safeguards your wellbeing. Avoid immersing the appliance in water or using abrasive tools that can scratch the surface or damage heating elements. Instead, opt for soft cloths and non-abrasive sponges, applying gentle pressure to lift grime without compromising the oven’s finishes. Disconnect the toaster oven from power and ensure it has fully cooled before beginning to clean to protect yourself from burns or electrical hazards. Carefully following the manufacturer’s guidelines minimizes the risk of accidents and prolongs the lifespan of your appliance.
Never spray cleaning solutions directly inside the oven cavity, especially near electrical components. Sprays can seep into wiring and cause shorts or malfunctions. Apply your cleaner onto a cloth first, then wipe surfaces to maintain control and avoid excess moisture buildup. Additionally, resist the temptation to use harsh chemicals like bleach or oven cleaners unless specified as safe for your model; these can deteriorate internal parts and void your warranty. Observing these safety practices keeps both you and your Breville toaster oven safe during maintenance.
Common Mistakes to Avoid
One common misstep involves neglecting to unplug the toaster oven before cleaning. This increases the risk of electrical shock and accidental activation of heating elements. You should always ensure the appliance is unplugged and allowed sufficient time to cool completely. Another frequent error is using metal scouring pads or steel wool, which can scratch the non-stick interior and expose metal that quickly rusts, leading to corrosion and degraded performance.
Using excessive water also creates problems; pooling liquids can damage electrical parts located underneath removable trays or inside control panels. Many users overlook the importance of removing crumb trays for separate cleaning, resulting in the accumulation of residue that fosters odors and smoke during operation. Carefully removing and washing these parts regularly helps maintain functionality and freshness.
Safety Measures When Cleaning
Wear gloves to protect your skin from harsh cleaning agents and any residual food debris that might irritate. Use mild detergents or specifically designed appliance cleaners to reduce chemical exposure. Ensure adequate ventilation by opening windows or running an exhaust fan to avoid inhaling fumes, particularly if using degreasers or vinegar solutions. Check for signs of damage, such as frayed cords or cracked glass, during cleaning sessions and address these promptly to prevent hazards.
Inspect the heating elements visually without touching them; dust or ash can be gently removed using a dry, soft brush or cloth. Never use water or liquids directly on the elements as this can cause permanent damage. Before reassembling trays and racks, confirm they are fully dried to prevent electrical shorts. Following these detailed steps will enhance your cleaning routine while maintaining a safe environment.
Additional caution involves staying attentive throughout the process to avoid shortcuts that jeopardize safety. Setting a timer or scheduling regular cleanings can prevent buildup and reduce the effort needed each time. Adopting routine checks alongside your cleaning habits ensures any developing issues are caught early, providing peace of mind and optimal appliance performance for every use.
Summing up
Ultimately, maintaining the cleanliness of your Breville toaster oven is necessary for ensuring its optimal performance and longevity. By following the detailed steps outlined in this guide, you can confidently clean every part of your appliance, from the crumb tray to the exterior surfaces, without causing any damage. Regular cleaning not only prevents buildup of grease and food particles but also contributes to more efficient cooking and better-tasting results.
You have the tools and knowledge to keep your Breville toaster oven sparkling and ready for use at any time. Incorporating these cleaning practices into your routine will make upkeep easier and allow you to enjoy the convenience and versatility of your toaster oven with peace of mind. Taking these simple actions ensures that your appliance remains a safe and reliable component of your kitchen for years to come.

